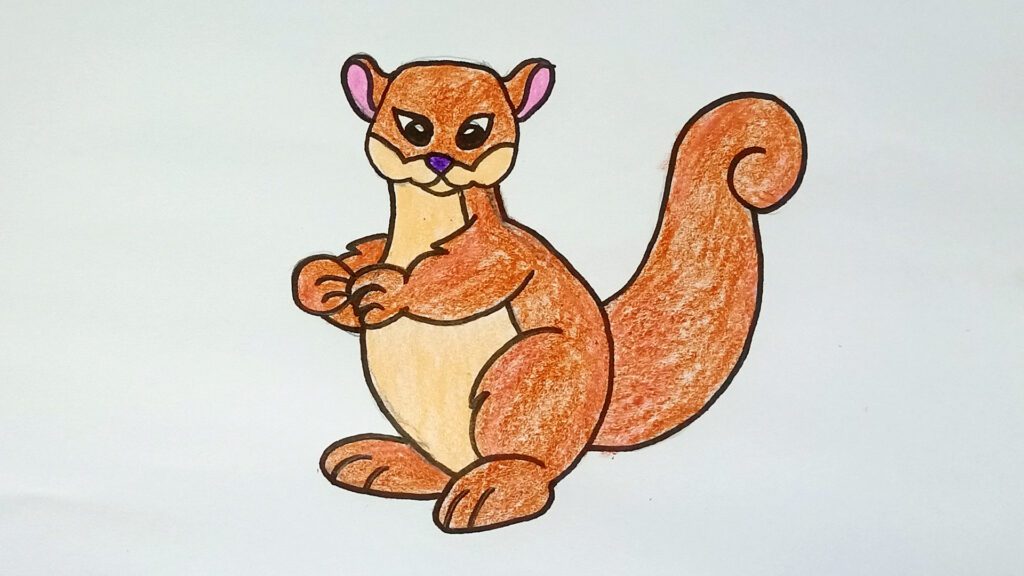
Drawing a cute squirrel might seem challenging, but with a few simple steps, anyone can create an amazing squirrel sketch. This tutorial is designed for beginners and casual artists who want to learn how to draw a squirrel easily, focusing on basic shapes and simple techniques.
If you’re looking to improve your drawing skills or just enjoy a fun, creative activity, this guide will take you through the process, step by step. With just a pencil, paper, color pencil and few necessary sketching iteams, you can create an interesting squirrel.
So, grab your supplies and follow along as we break it down into easy-to-follow steps!
Basic Structure Sketching of the Squirrel
Step 1: Drawing the Head Shape
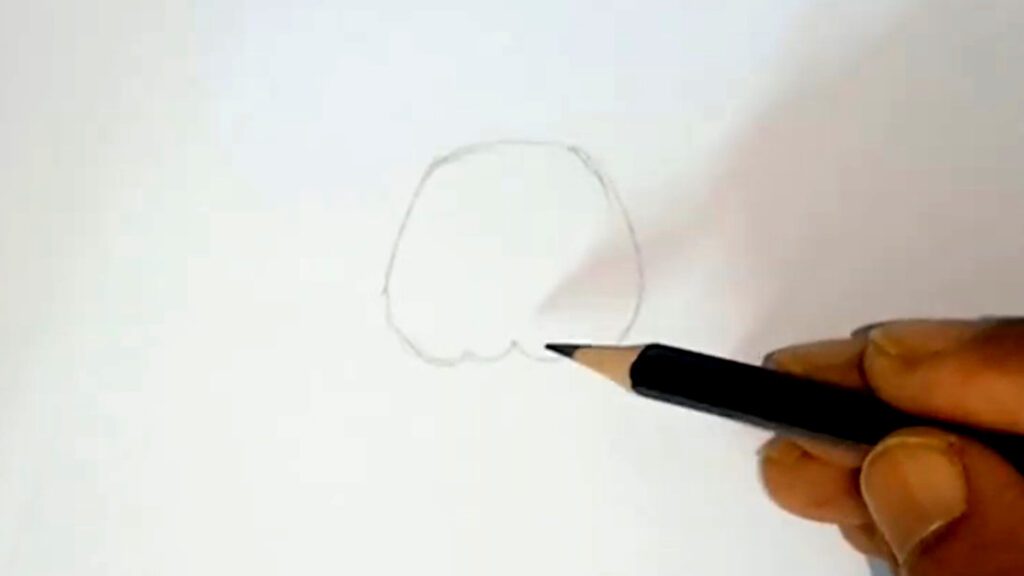
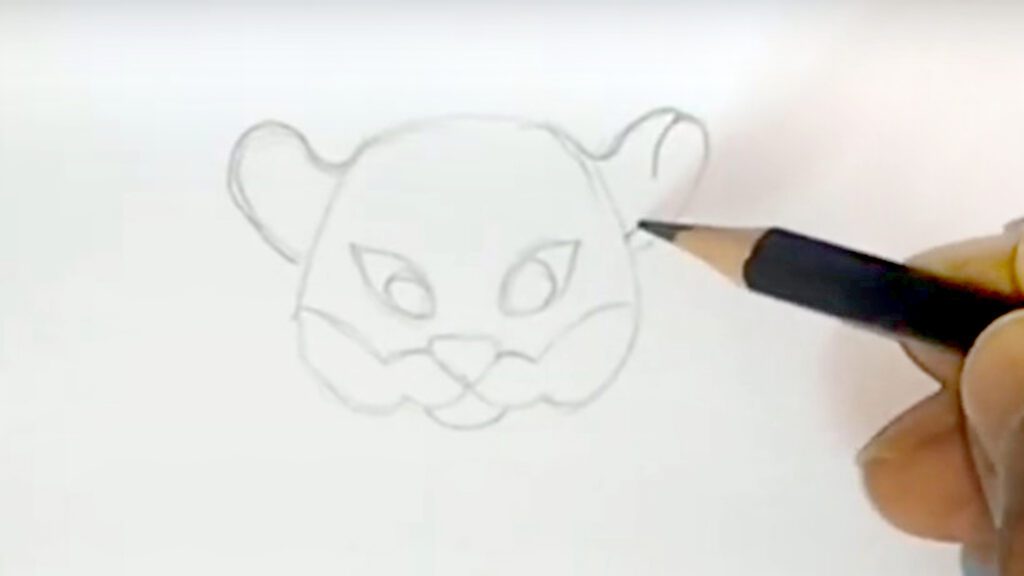
To begin drawing the squirrel, start by sketching a simple circle for the head. This will serve as the foundation for the rest of the features. Next, add a small oval shape just below the circle for the snout. Remember to keep your lines light, as these are just guidelines to help with proportion and placement.
These basic shapes will make it easier to refine the squirrel’s facial details later on in the drawing process.
Step 2: Ears and Facial Features
Now, sketching the head and snout, add two small, curved triangles on top of the head for the ears. Next, draw two round eyes inside the head circle, positioned evenly for a balanced look. Place a small, rounded nose at the tip of the snout, and below it, sketch a tiny curved line to form a smiling mouth.
These details will bring your squirrel’s face to life, making it look friendly and expressive. Keep your lines light and adjustable for now.
Step 3: Drawing the Body Outline
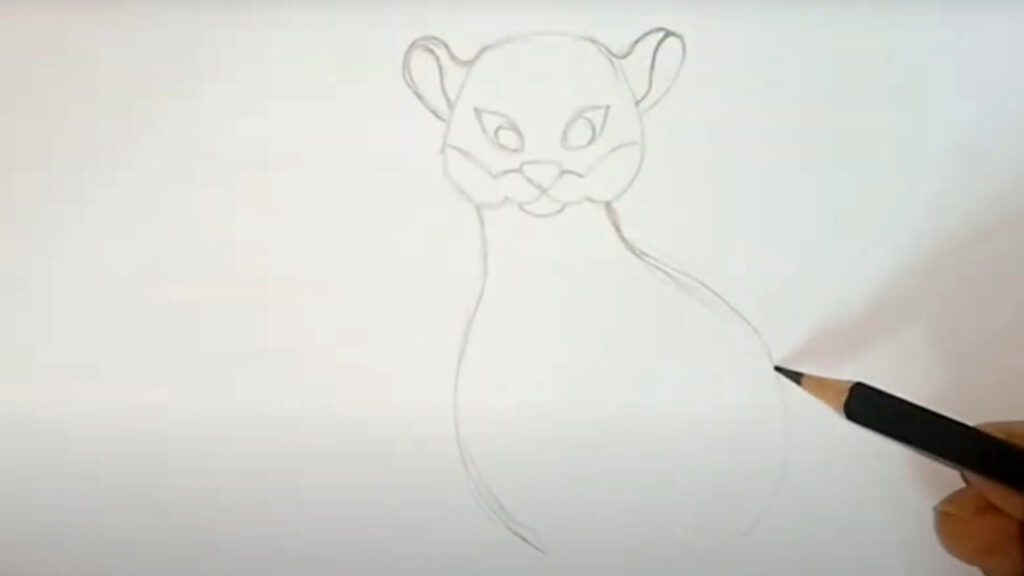
To draw the squirrel’s body, start by sketching a large oval shape beneath the head. This oval will form the main structure of the body. Once the body shape is in place, add a simple line or curved stroke from the head to the bottom of the oval to guide the posture.
This line will help position the squirrel, ensuring a natural and balanced stance for the final drawing. Keep the shapes light for easy adjustments later.
Step 4: Adding the Tail of the Squirrel
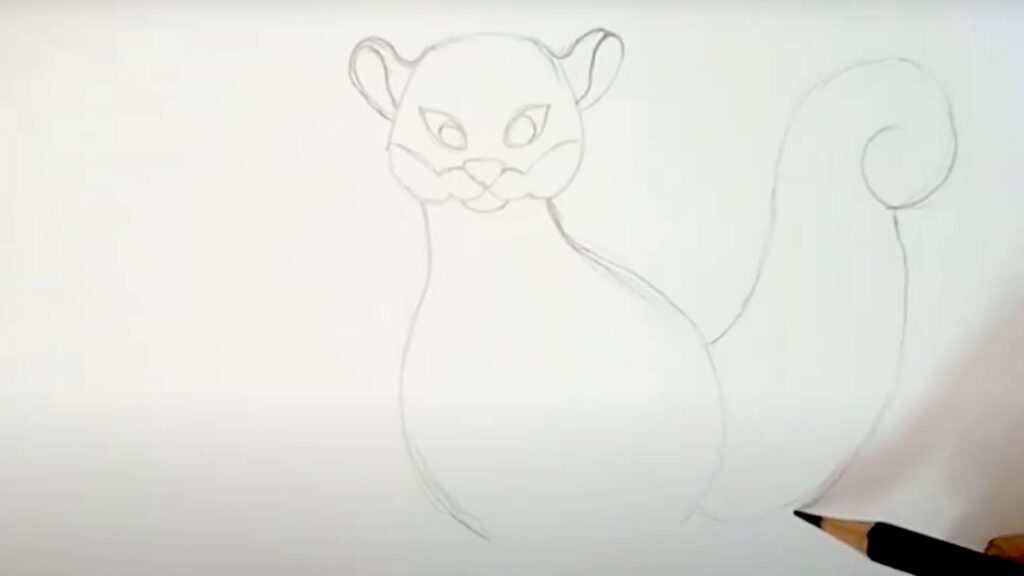
To add the squirrel’s iconic tail, start by drawing from the lower back of the body. Create a large, curved shape that extends upward and away from the body, making sure the tail is bigger and fluffier than the body itself. The curve should have a soft, flowing motion to reflect the bushy nature of a squirrel’s tail.
This oversized, curved tail will reflect your drawing character and help capture the squirrel’s playful and energetic appearance.
Step 5: Legs and Paws
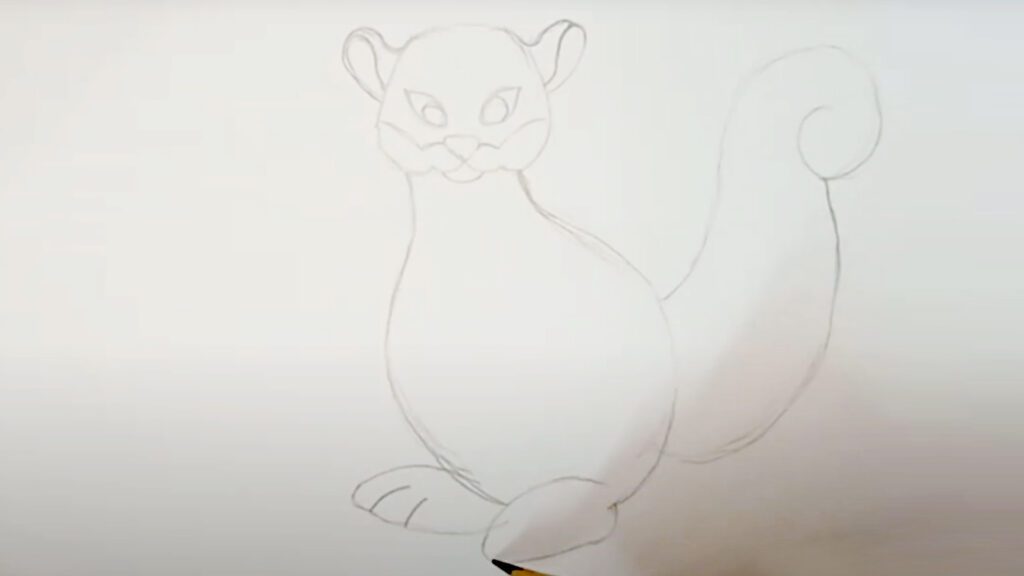
To draw the squirrel’s legs, start by sketching two very smal lines extending downward from the body to form the front legs. At the end of each line, draw small ovals to represent the front paws. For the back legs, create two small ovals attached to the lower part of the body, near the back.
Add a few curved lines extending from the back legs to shape the hind paws. These simple shapes will provide the basic structure for the squirrel’s limbs.
Step 6: Refining and Detailing the Squirrel Drawing
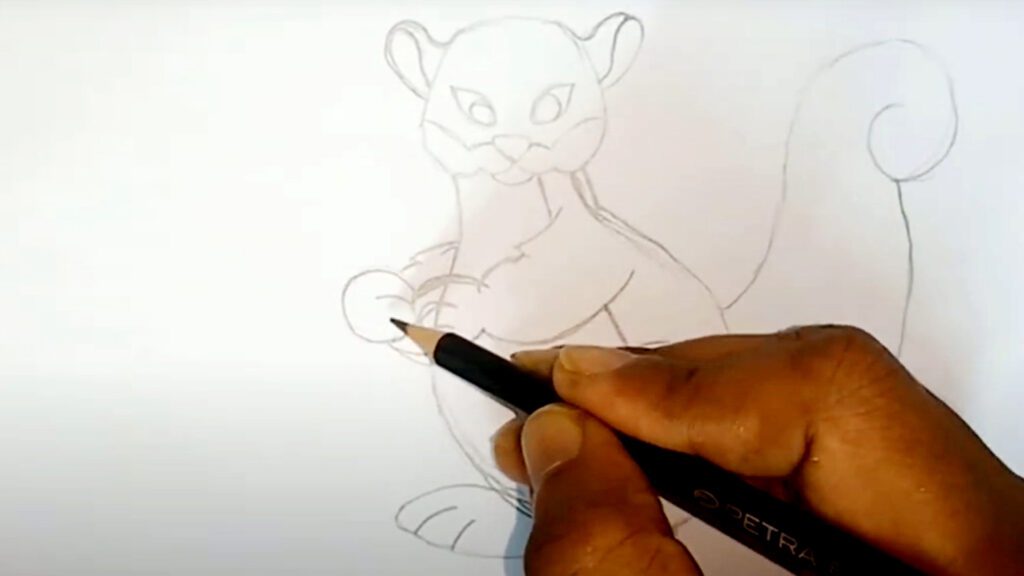
Now that the basic shapes are in place, it’s time to refine your squirrel drawing. Go over the lines and fix the segments, especially around the tail, body, and face. Add more details to the fur by sketching small, curved strokes along the edges of the tail and body to give it a soft, bushy texture.
Darken the eyes, nose, and mouth to make the facial features stand out. This step adds realism and character to your squirrel drawing.
Step 7: Finalizing the Facial Features of Squirrel
To finalize the squirrel’s facial features, start by darkening the eyes to make them stand out and give the face a lively expression. You can leave a small white area in each eye for a highlight effect.
Next, add small dots around the nose to represent whisker spots and sketch a few short lines around the mouth for extra detail. These subtle touches will bring more depth and personality to the squirrel’s face, making it look more realistic and expressive.
Step 8: Finalizing the Outline of the Squirrel Sketch
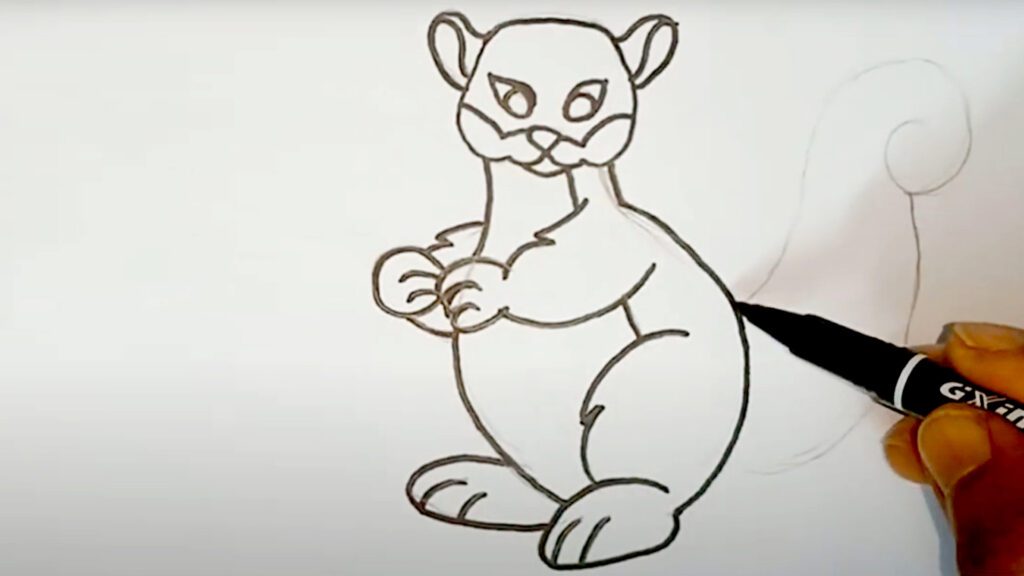
To finalize the outline of your squirrel sketch, carefully go over the key lines with a darker pencil or marker pen. This will give the drawing a clean and polished look. Focus on the main shapes, such as the head, body, legs, and tail, to make them more defined.
Once you’ve traced the final outline, gently erase any unnecessary guidelines and lighter sketch marks. This will leave you with a crisp, well-structured squirrel drawing, ready for coloring or additional details.
Step 10: Adding Color on Squirrel Sketch
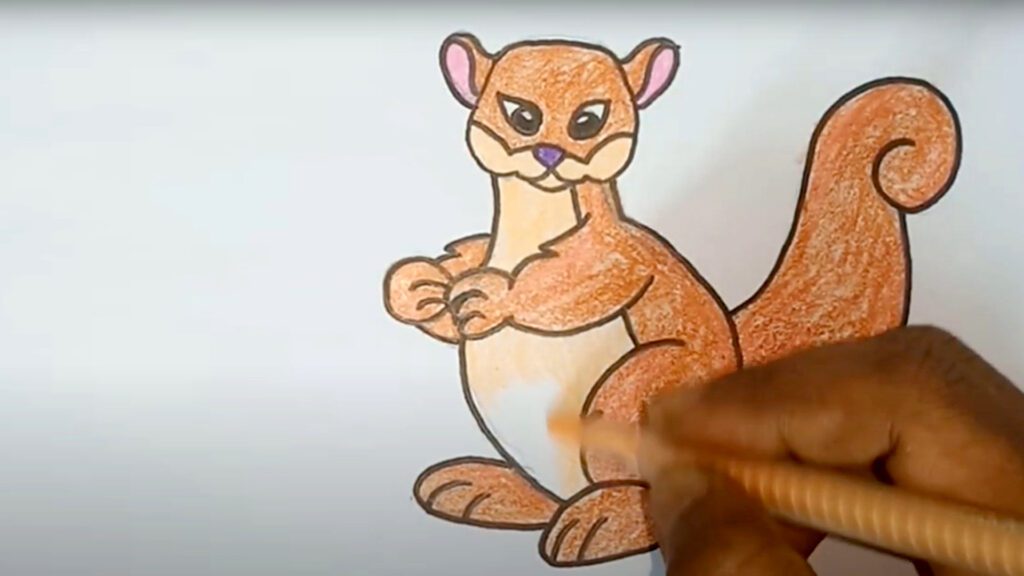
To bring your squirrel sketch to life, use light brown, gray, or reddish tones for the body and tail, depending on the squirrel species you want to depict. Lightly color in the body, keeping your strokes smooth and even. For added depth, use darker shades in areas where shadows naturally fall, such as beneath the legs, under the tail, and around the belly.
Next, color the nose and eyes black, leaving small white highlights to give them a shiny, lively appearance. This combination of colors and shading will add dimension and realism to your finished squirrel drawing.
Conclusion
In conclusion, drawing a squirrel is easy when you break it down into simple steps. Starting with basic shapes for the head and body, adding details like the legs, tail, and facial features, and refining the outline makes the process straightforward and fun. Adding color and shading brings your squirrel to life, giving it personality and depth.
Now that you’ve mastered these steps, try experimenting with different poses or styles to make your squirrel drawings unique. With practice and creativity, you’ll be able to create squirrels in various playful settings. Keep exploring, and enjoy the process of developing your artistic skills!
Final Tip: Practice and patience make drawing more enjoyable!

