Owls have long fascinated artists and nature enthusiasts with their mysterious aura and striking features. Whether you’re a budding artist or simply looking for a fun activity, learning how to draw an owl easy can be an enjoyable and rewarding experience. This guide will take you through a step-by-step process, helping you create an impressive owl sketch even if you’re a beginner.
Materials You’ll Need
To get started, gather the following materials:
- Drawing paper: Any sketchbook or plain paper will work.
- Pencil: A basic HB pencil for sketching and outlines.
- Eraser: A soft eraser for correcting mistakes.
- Markers or colored pencils: To refill the color and make the details more appealing.
- Blending tool (optional): Like a blending stump or cotton swab for shading.
- How to Draw An Owl Easy Video Tutorial (see bottom of the lesson)
Having the right tools ensures you can focus on the drawing process without interruptions.
Step 1: Draw the Basic Shapes
Start with simple shapes to outline the owl’s body:
1. Head: Start by drawing a large oval or circle at the top center of your paper.. This will form the owl’s head.
2. Body: Positioned beneath the head, sketch a slightly larger oval or egg-like shape to form the body.
3. Guidelines: Lightly sketch a vertical line down the center of the head and a horizontal line across it to position the facial features symmetrically.
This foundational step makes it easier to draw an owl easy by focusing on proportions and alignment.
Step 2: Add the Facial Features
1. Eyes: Draw two large circles on either side of the vertical guideline within the head oval. These will be the owl’s prominent eyes. Within each circle, draw a smaller circle for the pupils, shade them in, and leave a tiny white dot to create highlights.
2. Beak: Draw a small, downward-pointing triangle between the eyes, slightly below the horizontal guideline.
3. Facial Disk: Add two curved lines extending from the top of the head to the base of the beak, forming the characteristic round face of the owl.
This step brings the owl’s face to life and establishes its expressive features.
Step 3: Outline the Wings and Tail
1. Wings: On each side of the body oval, draw elongated curved shapes that taper toward the bottom. These represent the owl’s folded wings.
2. Tail: Sketch a small rectangular block or a few gently curved lines at the lower end of the body oval to represent the tail feathers.
3. Feet: Draw two small, curved shapes extending downward from the bottom of the body. Each foot should have three toes for a simple, cartoonish look.
Outlining these features ensures that your owl drawing maintains a balanced appearance.
Step 4: Define the Owl’s Feathers
To make the drawing more realistic:
1. Head Feathers: Draw small, arched strokes encircling the head to mimic the look and texture of feathers.
2. Body Feathers: Use overlapping U-shaped or scalloped lines across the body to create the appearance of layered feathers.
3. Wings and Tail: Add straight or slightly curved lines along the wings and tail to indicate feather patterns.
Step 5: Fix Details and Polish the Drawing
1. Eyes: Darken the pupils and outline the irises to make them pop.
2. Beak: Add slight shading or texture to give depth.
3. Feathers: Enhance the feather details by thickening some lines or adding additional texture with short, sharp strokes.
4. Background (optional): Sketch a branch for the owl to perch on or add a simple night sky with stars and a moon.
Step 6: Add Color and Shading
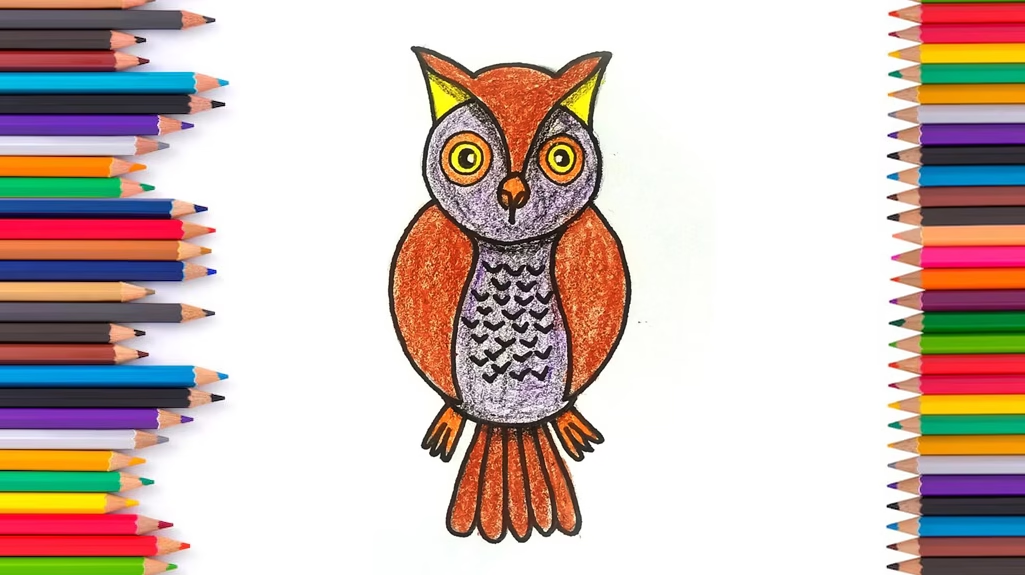
1. Color: Use colored pencils or markers to add hues to your owl. Browns, grays, and whites work well for a realistic owl, while vibrant colors can make it more whimsical.
2. Shading: Lightly shade areas where shadows naturally fall, such as under the wings and around the face.
3. Blending: Smooth out pencil lines with a blending tool to create soft gradients.
Coloring and shading breathe life into your drawing, making it more engaging and dynamic.
Pro Tips for Beginners
- Practice Shapes: Spend time practicing basic shapes like circles and ovals to improve your drawing foundation.
- Use References: Look at photos of owls or illustrations to study their features and proportions.
- Work Lightly: Sketch with a light hand so you can easily erase mistakes.
- Be Patient: Don’t rush the process. Dedicate ample time to carefully refine every step.
Video Tutorial | Draw an Owl Easy
You may feel interested to read about how drawing helps you think!
Final Thoughts
Learning how to draw an owl easy can be a fun and accessible project for artists of all levels. By breaking the process into simple steps and practicing regularly, you’ll soon be able to create beautiful owl illustrations. Whether you’re drawing for relaxation or improving your skills, this guide provides all the tools you need to succeed. So grab your materials and start drawing your owl masterpiece today!